
In our last segment, we decided to take our cameras out of AUTO and start experimenting with the Aperture Priority and Shutter Priority settings on our cameras. These settings are a great place
to start if you want to venture into the world of "manual" camera settings. They allow you to set certain settings, but the camera still chooses the other settings.
For instance, when you are in Aperture Priority (or whatever your make of camera calls it), you are able to change the F-stop/aperture. This changes the opening of the lens, allowing more or less light in when you take a picture. In very basic terms, the larger the number, the smaller the hole, so less light is coming into your camera. The smaller the number, the more light is allowed in because the lens opening is larger (or wide open). (To quickly try to remember this, just think bigger number = darker photo, while smaller numbers = lighter/brighter photo.)
How does this affect your photos? Well, when shooting portraits, we usually choose a smaller number. The smaller numbers not only allow more light in, but they also blur out your background. So,
a setting of 2.8 or 3.5 is going to put your subject in focus, but everything behind them will be blurry. (There are other things that factor into this, but we are trying to keep this
basic.)
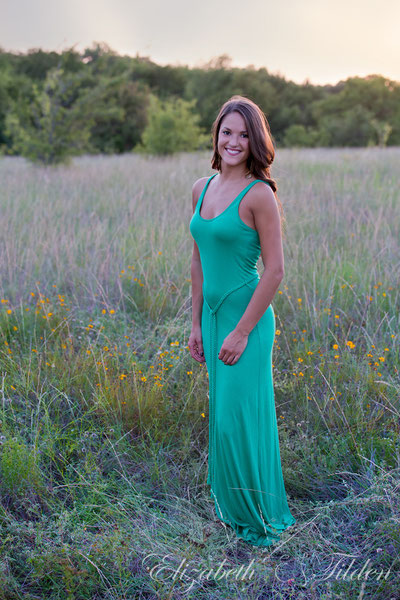
Here is an example of changing your aperture to get a creamy background. I put my settings under the photo. At 3.5, that allowed a very creamy/dreamy background, but her face is still in
focus.

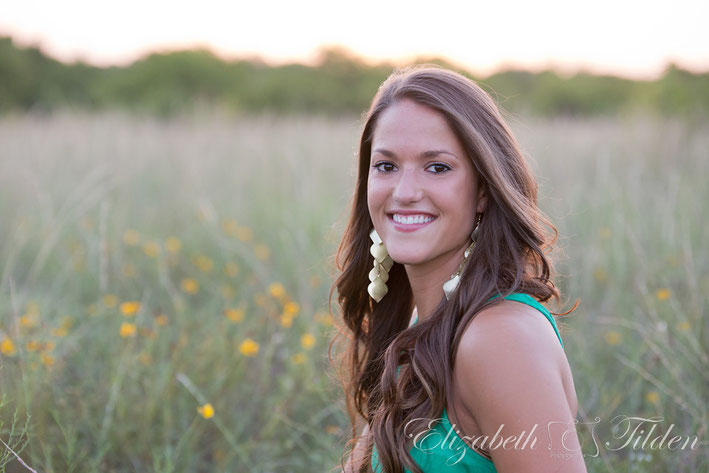
In the next two photos, just a slight change in aperture makes a pretty big difference. In this one, I shot at 4.0, and you can see more details in the background.
But this one, I've changed my aperture back to 3.5 and the background is more creamy.
And, just for fun, check out the difference in this background. Look at the settings to see if you can figure out what I changed.
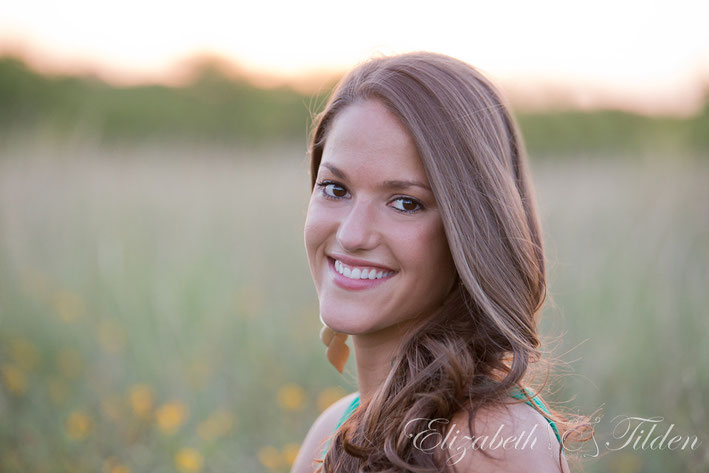
The only thing different this time was my focal length. So, to get a creamy background (or what is often referred to as bokeh), you can change your F-stop/aperture to a lower number. But you can
also increase your focal length (zoom) to help get a blurry background. This works better the further away you are from your background.
Now, when you are in aperture priority and you change your aperture/F-stop, the camera automatically changes the ISO and/or shutter speeds to compensate for the changes YOU made. It's like
driving a stick, when you push a little on the gas, you let out a little on the clutch. Same with the exposure triangle. If you change the F-stop, than you will need to make changes in your
shutter speed or ISO to compensate. Play around with it.
One final note, Aperture priority is really a good choice for portraits where your subject stays still, but not really a good choice for fast moving subjects. That's where Shutter priority will
come in handy. We'll talk more about that in the next segment.